Move accounts in from another host
Bring whole hosting accounts to HF Panel from full account backups, check them, switch DNS without downtime and tidy up afterwards.
This tutorial moves hosting accounts from your old server to HF Panel. You import each account from its full account backup, look at the copy, then switch DNS. Nothing changes on the old server, so the websites stay online the whole time. Plan an hour for the first account; the next ones go faster.
You need:
- an administrator login on the new HF Panel server
- a full account backup of each account, made on the old server (
.tar.gz,.tgz,.taror.tar.zst) - access to each domain's DNS
Tip: to move only one website, a customer can do it alone with Import from another host. This tutorial is for you, the administrator, moving whole accounts.
1. Get the new server ready
- Open Server Admin › Accounts › Packages and check that a package exists for each kind of account you bring. An account is refused when its package allows less disk, domains, mailboxes or databases than it uses.
- Open Server Admin › Server › Server health and fix anything yellow or red first.
- If the old accounts use a PHP version you don't know yet, check Server Admin › System › PHP & Node.js.
2. Lower the DNS TTL (a day before)
At each domain's DNS provider, set the TTL of the A, www and MX records to 300 seconds. The switch in step 7 then
reaches everyone within minutes.
3. Get the backup to the new server
Backups of up to 1 GB can be uploaded in your browser. For bigger ones, copy the file to the server:
scp backup-sarahbakes.tar.gz root@srv.yourdomain.com:/home/hostfog-import/
You can also paste a direct download link in the next step.
4. Import the account
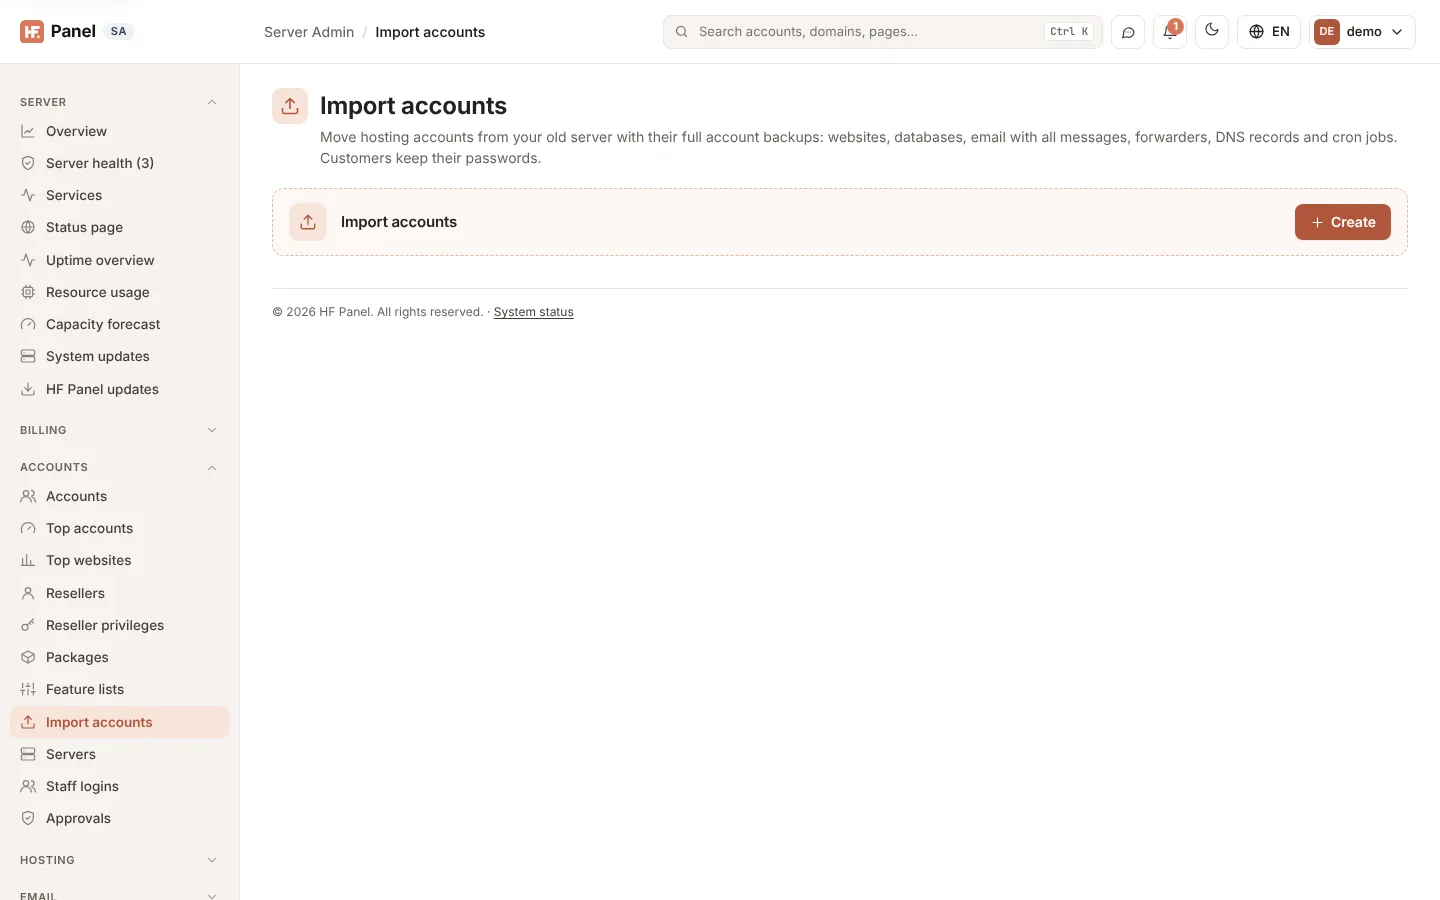
- Open Server Admin › Accounts › Import accounts.
- Under 1. The account backup, choose Upload it (up to 1 GB), It's on this server (then pick the file under File in /home/hostfog-import) or Download it from a link.
- Under 2. The new account, choose the Package and the Owner (You (no reseller), or a reseller). Leave Username empty to keep the old one.
- Click Start import and follow its progress: Waiting, Downloading, Reading the backup, Importing, then Done.
Websites, databases, mailboxes with all their messages, forwarders, DNS records and cron jobs come across. Customers keep their passwords.
5. Read "Check these"
When the import is Done, the page can show Check these:. Typical items are a database user or mailbox that got a new password (the website's configuration file may need the new database password), a subdomain skipped because its domain isn't in the backup, and a domain that uses outside email (its MX record is kept as it was). Fix each one.
If the import Failed after the account was created, delete the account under Server Admin › Accounts › Accounts and import again.
6. Test before you switch
Click Open the account to sign in to the customer's Control Panel and look around. To see the website the way
visitors will, add a line to your own computer's hosts file that points example.com and www.example.com at the
new server's IP address. Remove it when you are done.
Check the PHP version under Software › PHP settings and that email opens in Mail.
7. Switch DNS
Either change the domain's nameservers to ns1.yourdomain.com and ns2.yourdomain.com, or point its A, www and MX
records at the new server: see Point a domain bought elsewhere. Free SSL follows within
minutes. For DNS that stays elsewhere, the customer's DNS setup page lists each record and checks it live.
Some mail may still arrive at the old server during the change. A day later, bring over what arrived there with Import mail on each customer's Email screen (messages already copied are skipped), then cancel the old hosting.
8. Tidy up with bulk changes
When many accounts are in, change them together instead of one by one:
- Open Server Admin › Accounts › Accounts, tick the accounts and click Bulk changes.
- Choose the change, for example PHP version, Package or Free SSL. For a long list, use CSV import
with one
username,field,valueline per change. - Click Preview and read what will change and what is refused.
- Click Run on N account(s).
9. Check the result
- Server Admin › Accounts › Top accounts shows which accounts use the most CPU, memory and disk.
- Server Admin › Server › Resource usage › Capacity forecast shows whether the disk will last.
- Server Admin › Accounts › Top websites shows the busiest websites once their statistics have been counted.